Maintenance of a Mature Starter Culture

At some point you will have a starter culture that rises and falls predictably and you’ll be ready to switch to maintenance from creation. There’s a few approaches available here, ranging from ideal to lazy. I’ve used them all!

The Ideal Approach

The ideal approach is to keep your starter at room temperature and refresh it every day at the same time (or twice daily), adjusting your ratio of kept starter to water to flour so that it rises and starts to fall in the time in between refreshments. You do not want it to fall all the way back to flat in this time, or even most of the way back to flat. We are trying to encourage a particular balance of yeast and bacteria that is good for raising bread at this point. The longer you let it fall after the peak before refreshing, the more active the bacteria become and the less active the yeast become. Yeast are the ones who do most of the work of raising your bread, so you want your yeast colony to be strong and active.

When I say “adjust the ratio” what I am talking about is moving away from that 1:1:1 by weight of starter:water:flour we have been using to whatever ratio gives you the rise and fall times you want. If your starter has fallen most of the way back to flat by the time you refresh, then try going to 1:2:2. If it’s still rising and falling too fast, try 1:4:4. Keep experimenting until you get the desired rise and fall time. You will also want to be aware that changing seasons can change the ratios you need. In the heat of summer I have had to go as high as 1:10:10 to keep it from rising and falling too fast. (You can also change your water temperatures to influence this – use cooler water if the house is hot and warmer if it’s cold. Not too hot though!)

The good news is, even your starter has fallen back to flat before you refresh, you haven’t killed or ruined it. These cultures are hardy and you can keep baking with it. It might just be slower to raise your bread than you want, or have a more sour flavor than ideal. It will still make you bread.

The Lazy Approach

Let’s say you’re only baking once a week. Is it really worth it to refresh your starter 1-2 times a day? Are you going to bake with all that discard? Probably not.

So here’s what you do: Feed up your starter, let’s say with a 1:2:2 ratio, and stick it IMMEDIATELY in the refrigerator. (I see some recipes recommending leaving it out for a few hours first but that makes no sense.) The point of refrigerating it is that this will greatly slow down the activity of your yeast and bacteria, reducing the chance that they will die in their own waste while being ignored for a week or two. It will also prevent mold growth. You want it going in the fridge with little waste products and plenty to live off of for a week or two.

Then, a day or two before you want to bake again, take it out of the fridge. Assess the starter – is it full of bubbles and at a peak? Has it risen and fallen? Is there liquid on top? (The liquid is called “hooch” and can be tossed.) I like to leave mine out at room temperature and check on it in a few hours – if it’s active at that point, I can probably use it to bake right away. If it’s falling, then I will refresh it 1-2 times before baking with it OR use it to start a sponge for a longer-fermenting bread recipe.

What I do

I take sort of a middle ground approach between the two. If I am baking regularly, I keep Mr Sticky out on the counter. If I’m going to be busy and not baking regularly, he goes in the fridge. I also like to refresh Mr. Sticky at fairly extreme ratios so that even on the counter I can go to an every other day schedule without harming the culture. When I refresh Mr Sticky is often based on a visual check more than anything else. (I only keep .2 oz of starter and refresh at 1:5:5 in the winter and 1:10:10 in the summer. I would not start this until you have an established starter culture and are comfortable with maintenance.)

Further Reading

Websites

Books

Flour Water Salt Yeast by Ken Forkish is pretty much the seminal work on artisan bread techniques, including sourdough.

The Rye Baker by Stanley Ginsburg is my personal favorite bread book – I love rye bread and he does a fabulous job in this book! He discusses the history of rye cultivation, the microbiology and chemistry of why baking with rye is NOT the same as baking with wheat, regional variations in traditional bread recipes across Europe and the ingredients used in bread with such clarity. It’s also chock full of delicious and well-written recipes. The Sauerkraut Rye bread from that book has become a staple in my household that people regularly demand.

Once my baby starters are ready to bake with there will be another post and videos too 🙂

How to Sourdough from Scratch: Days 3-6 and what to do next

Recap of Days 1-2 here. This got long so I made you a Table of Contents. There will be a follow-up post on maintenance of a mature starter and another on baking with it once my baby starters are ready.

Table of Contents

Day 3

Saturday, April 4th

Starters on Day 3

Starter 1 (wheat) was very active with large bubbles; it smelled clean and unlike any of the unwanted bacteria I was concerned about. This is a good sign. It probably took 24 hours for it to rise and and fall partway. I added 1 oz whole wheat and 1 oz water as before.

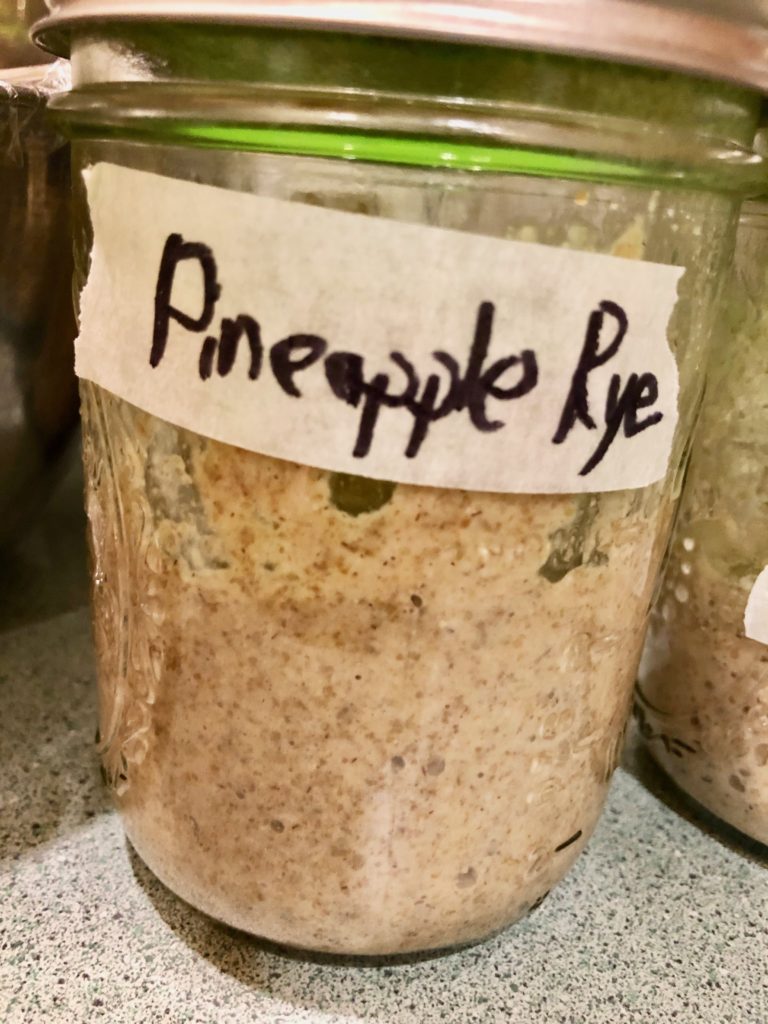
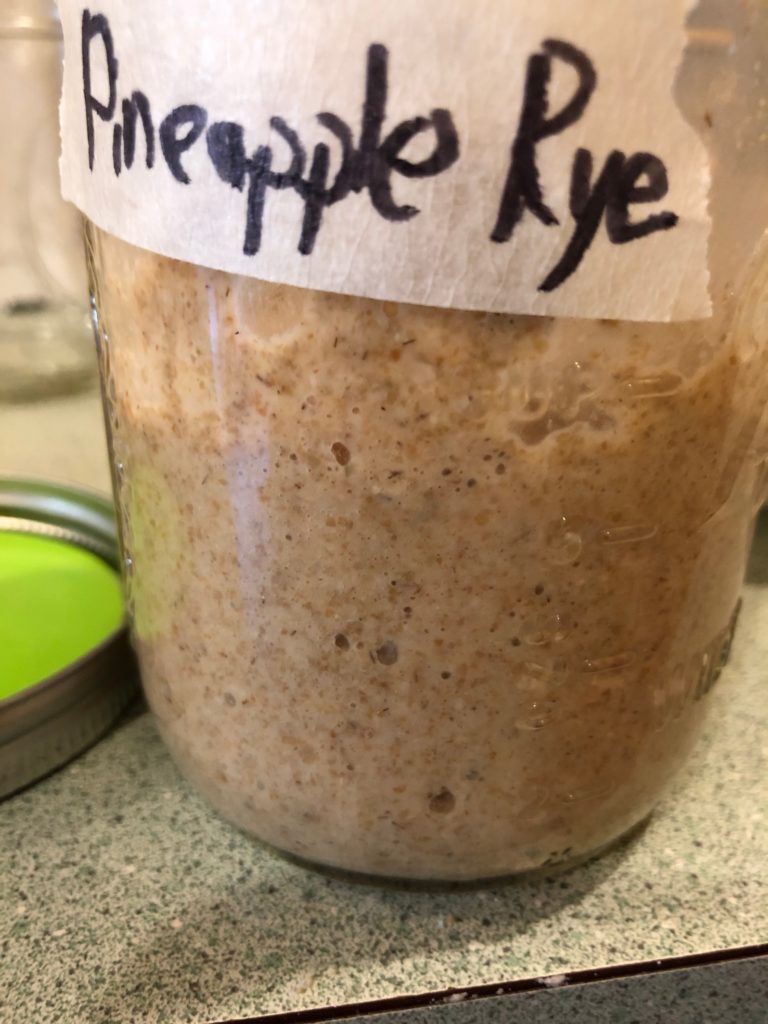
Starter 2 (pineapple rye) was less active. There were small bubbles visible but not much of a rise and fall. I wonder if this rye flour is just less nutritious than the one I normally use (which is completely out in all the grocery stores around here). Mr Sticky has had smaller bubbles than usual and 50% of what I maintain him with is also this same rye flour. I added 1 0z whole rye flour and 1 oz pineapple juice as before.

Day 4

Sunday April 5th

starters on day 4
close up on the pineapple rye

Starter 1 (wheat) was very active again and still smelled clean. I added 1 oz water & 1 oz whole wheat flour as before.

Starter 2 (pineapple rye) again showed less activity, but did have small bubbles. I added 1 oz pineapple juice and 1 oz whole rye flour as before.

Day 5

Monday April 6th

starters on day 5

Starter 1 (wheat) was very active again and still smelled clean. Starter 2 (pineapple rye) again with the small bubbles. The pineapple juice method is not working as a jump start for me so well.

At this point I would like to reduce the volume of starter in the jar and reduce the waste products the new colonies are in a little bit. Notice that bit of liquid under most of the wheat starter? It’s been producing extra liquid a lot. That’s a waste product from the yeast and if you let it build up eventually they will die in their own waste. (Do you want to live in your own urine and feces? I didn’t think so.) We left the waste products in for the first few days because we wanted the acid the lactobacilli were making to alter the ph of the overall environment to encourage our yeast to activate.

I tossed out a large portion of both baby starters. Starter 1 (wheat) I retained 1 oz, to which I added 1 oz whole wheat flour and 1 0z water. Starter 2 (pineapple) I retained 1 oz, to which I added 1 oz whole rye flour and 1 oz WATER. You’re not going to use pineapple juice forever.

Day 6

Tuesday April 7th

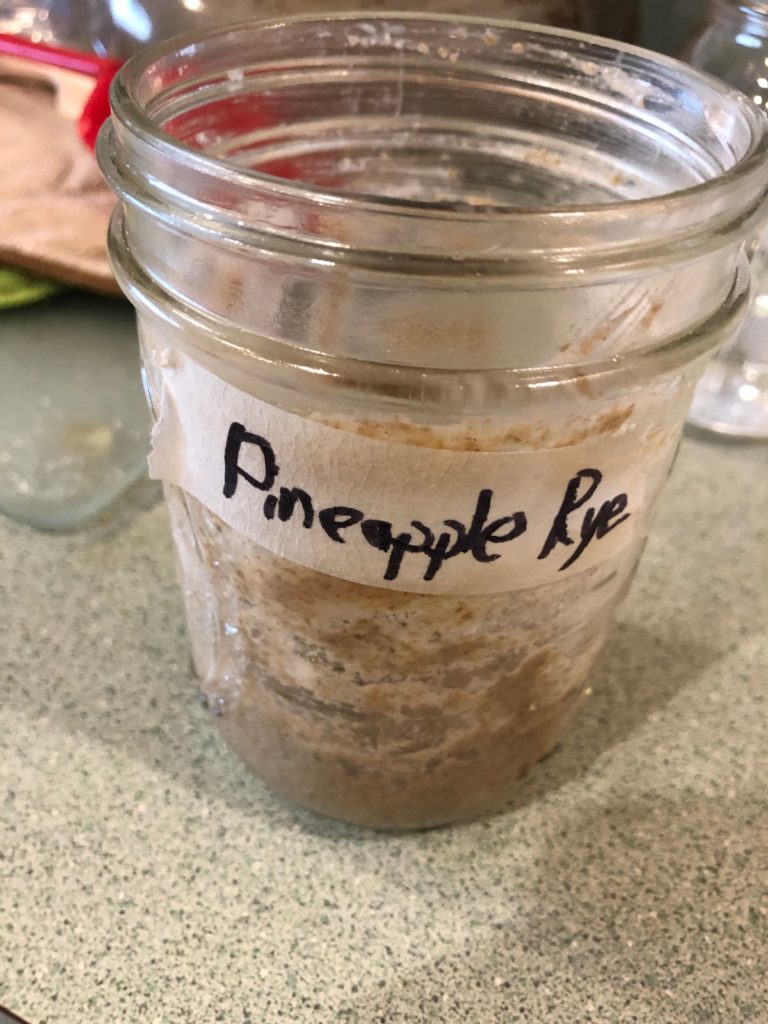
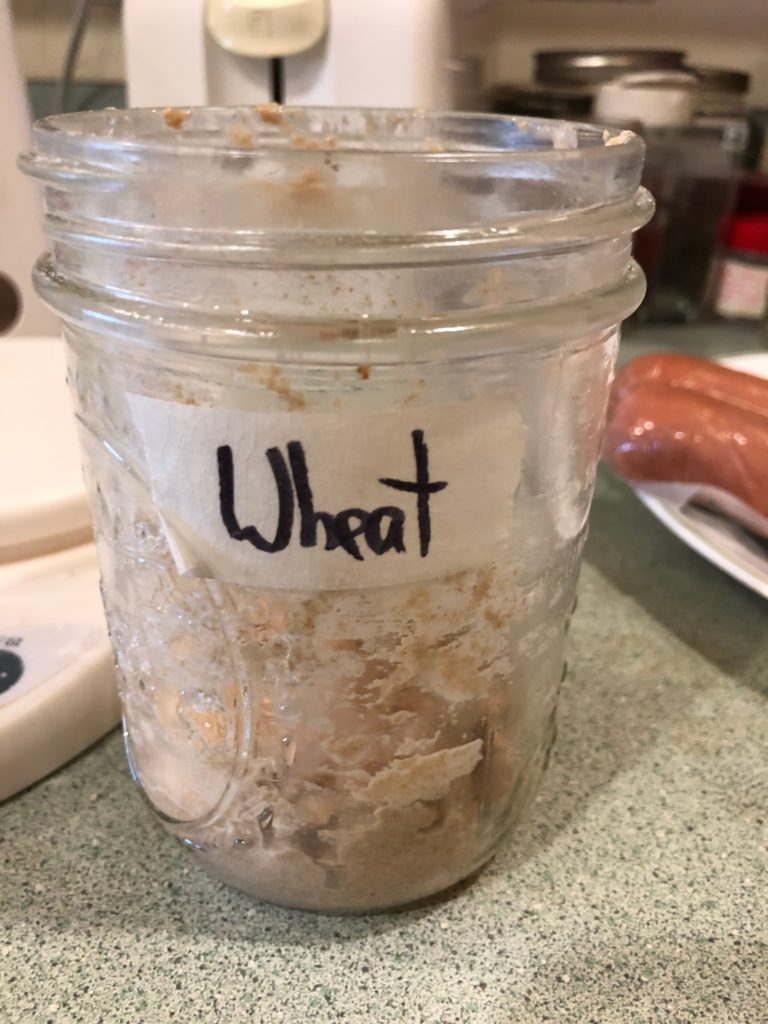
I have not yet refreshed the baby starters. (Mr Sticky was fed up for refrigeration and put away yesterday after I got a dough going from him.) They both show only very small bubbles – I may have gone a bit overboard in how much I removed yesterday. I also refreshed them pretty late yesterday so I’m going to wait and see what they are doing after dinner. I may just add to them if they haven’t really gotten as active as I’d like.

Recommendations for the next week

Keep refreshing your starters every day around the same time. At this point, you do want to remove some of your existing matter when you refresh. I recommend a 1:1:1 ratio by weight for now- so if you save 2 oz of starter, add 2 oz of flour and 2 oz of water. For now, I wouldn’t go below 1 oz saved, and 2 oz is probably better.

If you are seeing activity (bubbles, a clear rise and fall) then you are moving towards a ready culture. You may want to move to twice daily refreshments if the peak of the activity is happening quickly and your starter is mostly fallen back down to flat by the time you’re ready to refresh. (Temperature will strongly affect this. If your kitchen is over 75*F I highly recommend twice daily refreshments.) Your goal is to be refreshing not long after the peak, definitely before it’s all the way back to flat.

Assess your culture by checking the smell. It should smell like flour, a little sour (from the acid) and little funky from the yeast. If you’ve had an unfiltered wheat beer or brewed you probably know what the yeast funk I’m talking about is. Mr Sticky has particular smell that I call “feety but good” when it’s active. Foul smells can indicate unwanted bacteria and a culture that is not ready yet.

You can also start to mix in some all-purpose flour at this point rather than maintaining on all whole-grain. My personal preference is not to go below 50% all-grain flour at any time, but plenty of people maintain their starter cultures completely on AP flour. I would wait until you have a predictable rise and fall to switch over completely from whole-grain to all purpose.

What about all that stuff I’m tossing?

At this point you most likely do not have unwanted bacteria (check the smell) and you can actually use that extra starter mass instead of throwing it out. It can add a sour flavor to a baked good (although it’s probably not powerful enough to give it a full rise yet). I like King Arthur Flour’s recipes for sourdough discard, especially these biscuits. If you refrigerate your discard you can save it for up to a week, so you could keep a big jar of discard that you add to until you have enough for a discard recipe. (DO NOT leave it out at room temperature – it will be invaded by MOLD!) I have done this occasionally.

When will it be ready to bake with?

The big question! What you want to see is activity in the form of bubbles and a clear, predictable rise and fall cycle. Refreshing at 1:1:1, twice daily, you want to see this rise and fall cycle happen within 12 hours. If you have this, and it doesn’t smell rotten, you are probably good to bake!

So what to bake? This will really depend on what flour you have available, your previous bread baking experience and comfort, and the equipment you have available. I plan to do another post with video about baking with sourdough when my baby starters are ready to go. In the meantime, if your starter is roaring to go, try this Rustic Sourdough Bread recipe from King Arthur Flour. It should work with any wheat flour you have on hand.

Go forth and sourdough!

Recap: How to Sourdough from Scratch Days 1 & 2

Note about the videos -these are the Facebook live videos I did, with minimal editing.

Day 1

Thursday April 2nd we started 2 baby sourdough starters. Starter 1: 1 oz whole wheat flour mixed with 1 oz water. Starter 2: 1 oz pineapple juice mixed with 1 oz whole rye (pumpernickel) flour. (Here’s my source for the pineapple juice idea.) The first several days we will add the same ratio of flour/water or flour/juice to the starter without removing any material.

Each starter was mixed in a 16 oz mason jar with a fermentation lid. If you don’t have fermentation lids, a regular lid on loosely works just fine.

We are trying to get the microorganisms present in the flour to wake up and eat and reproduce, however we don’t want all of them. Some bacteria we do not want may show up at first – if you have bubbles and a bad smell it is those bacteria. What we are waiting on is some lactobacteria to start going, because they produce acids as they eat the flour. We are not removing material because we want the whole mush to become acidic in order for the yeasts we’re looking for to activate. The yeast species that show up in sourdough starters tolerate more acidity than your standard store-bought yeast (candida millieri). Eventually that acidity will kill off the other bacteria and you’ll end up with a stable culture combining yeast and the lactobacteria.

Day 2

Friday April 3rd: Neither Starter 1 or Starter 2 had shown any signs of activity after 24 hours. The house was cold last night so I’m not surprised. If you are worried that you’re not seeing activity, you may try putting your starter in a warmer place or on a heating pad. Just don’t let it get too hot – the ideal temperature is 80*F and I wouldn’t get it over 100*F (although you won’t definitely kill everything until about 140*F).

I added 1.25 oz water and 1 oz whole wheat flour to starter 1 & 1.5 oz pineapple juice and 1 oz rye flour to starter 2. The additional liquid is because I noticed not all the flour was hydrated last night. We need all the flour to come into contact with the liquid. This activates some enzymes in it that will start a breakdown of some of the complex molecules into forms more readily eaten by the yeast and bacteria we are trying to grow.

Days 3 and 4

Saturday and Sunday we will keep the same feeding regimen and I will report back on Monday with the progress of the starters!